

Introduction
Temporary Anchorage Devices (TADs) have revolutionized orthodontic treatments by providing exceptional skeletal anchorage that does not rely on patient compliance. However, selecting the correct insertion site is critical to achieving successful outcomes. An improperly placed TAD can result in instability, inflammation, infection or failure altogether.
The key to successful TAD placement lies in understanding the patient’s bone quality, mucosal characteristics and adjacent anatomical structures, and carefully considering the mechanics of the intended tooth movement. In this article, we will explore in detail how to choose the optimal TAD insertion sites, focusing on bone quality, mucosal stability, the frenulum and other anatomical considerations.
What are TADs and Why are They Important?
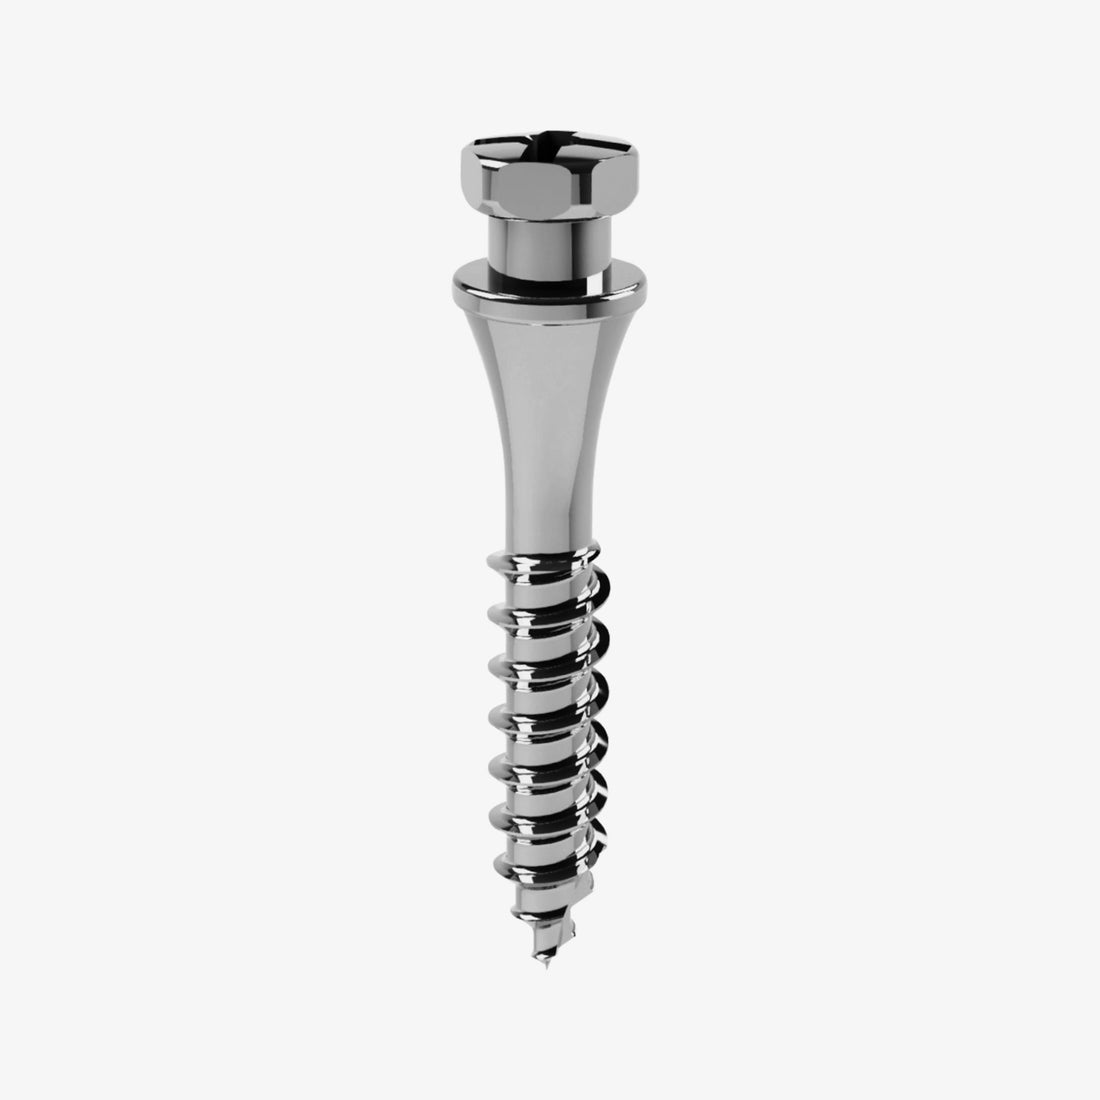
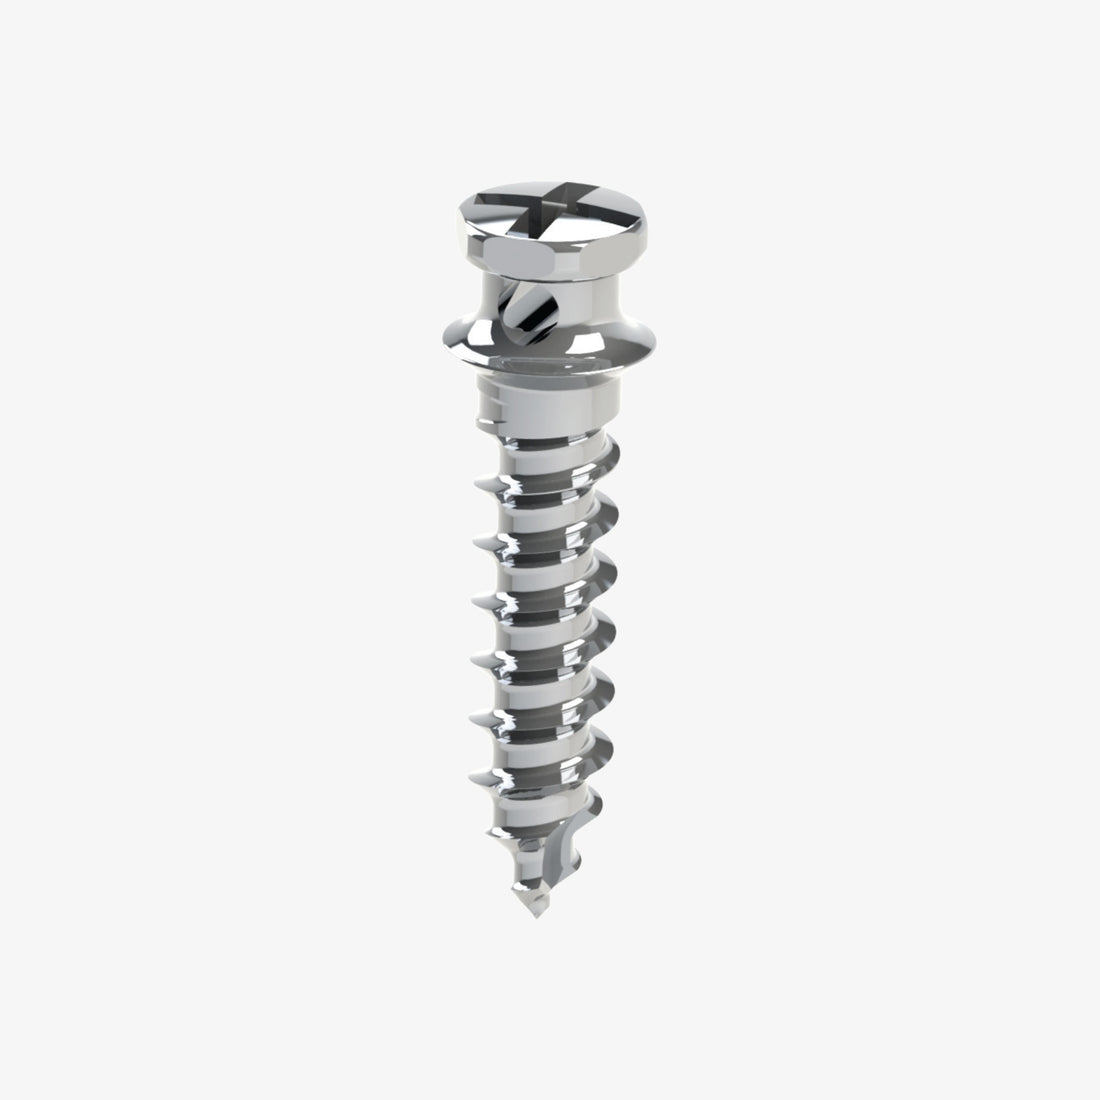
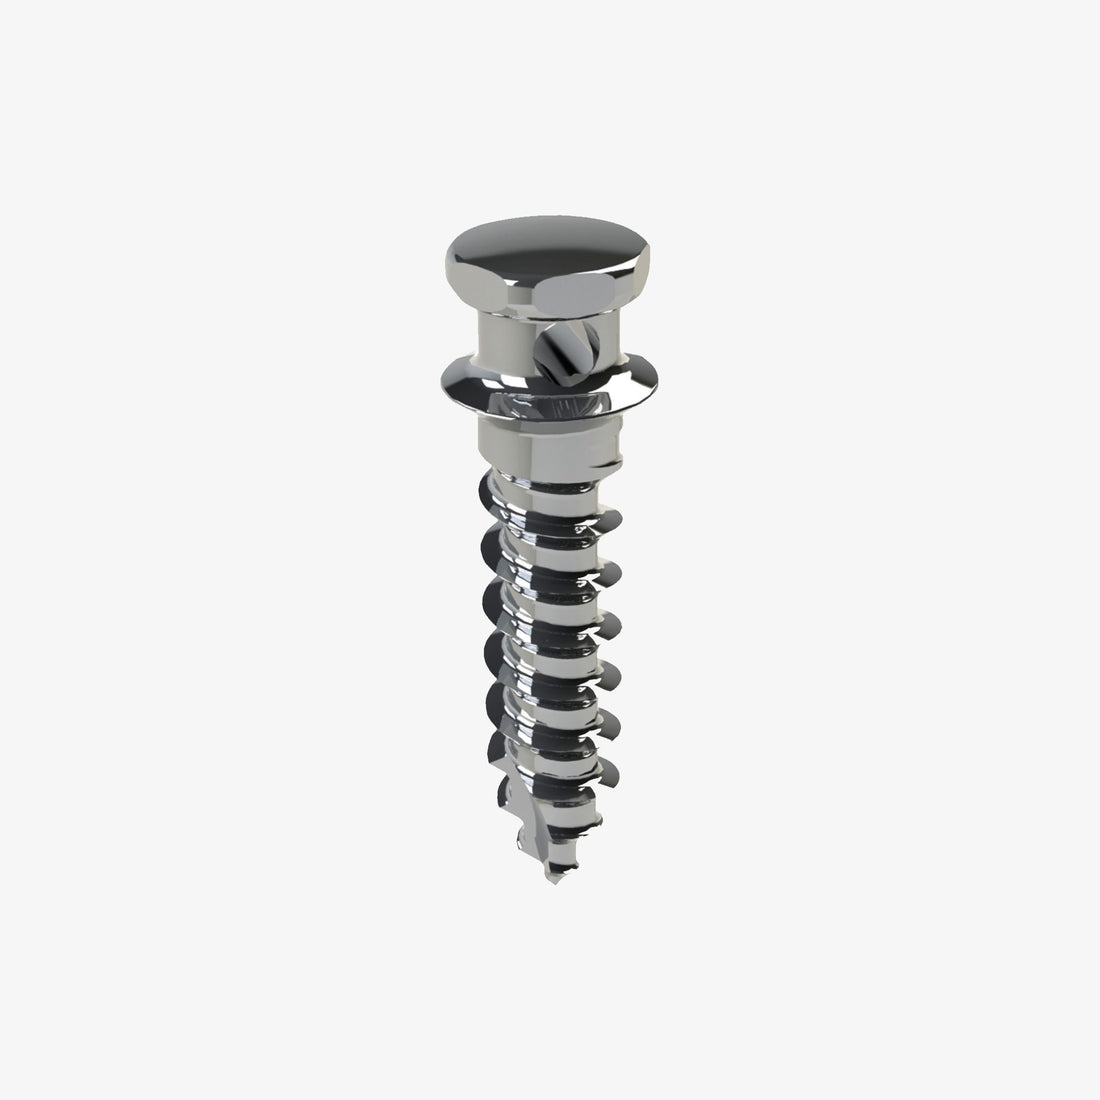
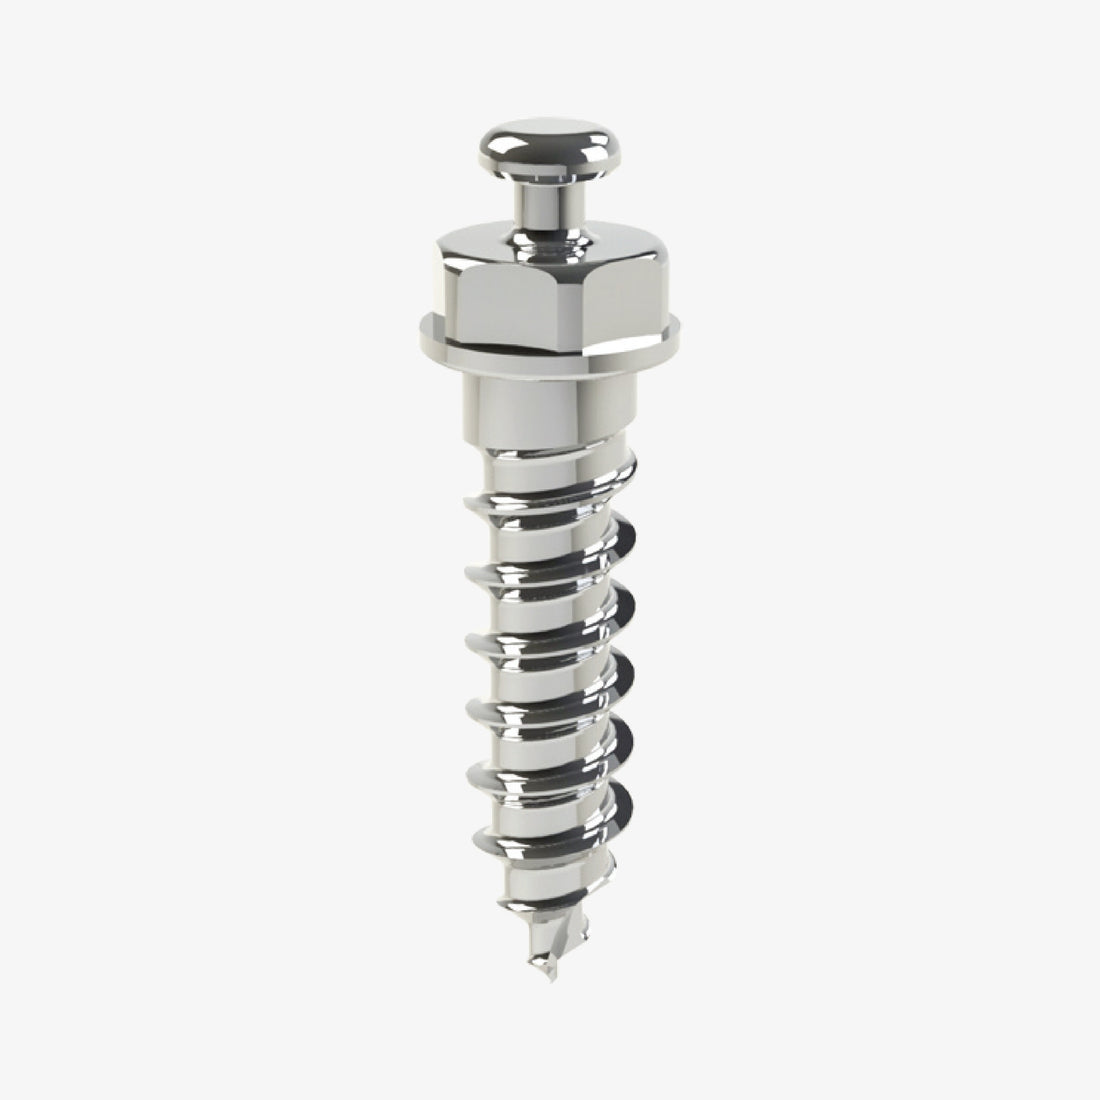
Temporary Anchorage Devices are small titanium screws that are inserted into the bone to serve as a fixed anchorage point during orthodontic treatment. They allow for precise movement of teeth while minimizing side effects and reducing overall treatment time. TADs offer a stable point of resistance, enabling complex tooth movements, such as molar intrusion, anterior retraction and posterior protraction, without affecting adjacent teeth.
Understanding how to correctly place these devices in specific anatomical regions is essential for maximizing their benefits.
1. Understanding Bone Quality for TAD Placement
The Role of Bone Density
The foundation of a successful TAD placement lies in the quality of the bone at the insertion site. Bone density is classified into four categories: D1 (very dense), D2 (dense), D3 (moderate density) and D4 (low density). The ideal sites for TAD insertion typically involve D2 or D3 bone, as these provide the best balance of primary stability and healing potential.
- D1 Bone:D1 bone is very dense and poorly vascularized, which can make it difficult for the TAD to integrate properly with the surrounding tissue. This is more common in the mandible, particularly in older patients.
- D2 and D3 Bone:These categories provide sufficient density while maintaining enough vascularization to encourage healing. This is ideal for maintaining primary stability immediately after placement.
- D4 Bone:This is the least dense type of bone and provides very little primary stability for the TAD. D4 bone is typically found in the posterior maxilla.
According to research, the contact between the cortical bone and the TAD plays a significant role in primary stability. The more surface area the TAD has in contact with the cortical bone, the more stable it will be.
Bone Contact and Stability
The length and diameter of the TAD are also critical in maximizing stability. For most cases, a TAD with a diameter between 1.5mm and 1.6mm is ideal, as it provides enough surface contact with the bone while being minimally invasive. The length of the TAD will vary depending on whether it is placed in monocortical or bicortical bone. In monocortical placements, it is important to maintain a 1:1 ratio between the part of the TAD embedded in the bone and the part exposed above the bone surface.
For instance, if the mucosa is 4mm thick, the TAD should be inserted at least 4mm into the bone to ensure primary stability. In bicortical cases, a longer TAD may be required, but the length should always be balanced against the available bone structure to avoid complications.
Source:
2. Mucosal Stability: Attached vs. Mobile Mucosa
The Role of Mucosa in TAD Stability
One of the most overlooked factors in TAD placement is the type of mucosa surrounding the insertion site. There are two types of mucosa in the oral cavity: attached and mobile mucosa. For optimal TAD stability, the device should be placed in attached mucosa rather than mobile mucosa.
- Attached Mucosa:This type of mucosa is tightly bound to the underlying bone, providing a stable environment for the TAD. Attached mucosa is usually found around the gingiva and along the hard palate.
- Mobile Mucosa:This mucosa is not fixed to the underlying bone, which makes it prone to movement and instability. Placing a TAD in mobile mucosa can lead to discomfort, irritation and eventual TAD failure.
To determine where the attached mucosa ends and the mobile mucosa begins, clinicians can use visual indicators or periodontal probes. The line where the two meet is often visible, making it easier to select the best insertion point. For instance, in the posterior maxilla, the attached mucosa can often be found near the zygomatic buttress, while mobile mucosa dominates the alveolar ridge.
Source:
3. Considerations Around the Frenulum
Avoiding Soft Tissue Irritation
Another critical aspect of TAD placement is avoiding anatomical structures that may cause irritation or lead to implant failure. The frenulum, whether in the upper or lower jaw, can cause significant soft tissue irritation if the TAD is placed too close. This can result in inflammation, discomfort for the patient and, ultimately, failure of the implant.
To avoid this, it is essential to place the TAD in the attached mucosa, well away from the frenulum. If necessary, minor surgical interventions such as frenectomy can be performed to ensure that the TAD remains stable and does not cause soft tissue damage. Clinicians should always assess the proximity of the frenulum and other soft tissue structures before placing the TAD to avoid complications.
Source:
4. Determining the Correct Length for the TAD
Importance of TAD Length
The length of the TAD plays a crucial role in ensuring primary stability, particularly in relation to the bone and mucosa. As discussed earlier, maintaining a 1:1 ratio between the part of the TAD embedded in the bone and the part exposed above the surface is crucial. This ratio helps prevent complications such as over-penetration, under-insertion or loosening of the device.
The length should also be tailored to the thickness of the mucosa. For example, in areas with thicker mucosa, such as the posterior maxilla, a longer TAD may be required. However, the TAD should not exceed the available bone depth, as this can lead to sinus penetration in the maxilla or nerve damage in the mandible.
CT scans or CBCT imaging can provide detailed insights into the bone's thickness, helping clinicians determine the optimal TAD length for each specific case. This technology also allows for precise placement of the TAD, ensuring that the implant remains stable and secure throughout the treatment.
Source:
- Clinical Factors in TAD Length Selection
5. TAD Insertion Between Roots: Avoiding Root Damage
The Importance of Root Clearance
When placing a TAD between the roots of adjacent teeth, it is essential to ensure that there is sufficient space to avoid damaging the roots. Damage to the root structures can lead to resorption or inflammation, which can compromise the tooth and the TAD.
One of the most effective ways to ensure proper placement is to use a periodontal probe. By gently gliding the probe along the roots of adjacent teeth, clinicians can identify the spaces where the roots are thinnest and position the TAD accordingly. This technique helps avoid root contact and ensures that the TAD remains secure.
In the maxilla, clinicians should insert the TAD perpendicular to the surface at first and then angle it to approximately 45 degrees. This allows for maximum cortical bone contact, which enhances primary stability. In the mandible, the TAD should be angled downwards at 45 degrees to ensure the same result.
Source:
Conclusion
Selecting the optimal insertion sites for TADs involves careful consideration of multiple factors, including bone quality, mucosal type, anatomical structures, like the frenulum, and the correct length and angulation of the TAD. By understanding these factors and using advanced imaging techniques such as CT scans, clinicians can ensure successful outcomes with minimal complications. TADs offer an invaluable tool for orthodontic treatments and mastering the art of proper insertion site selection is key to unlocking their full potential.


 0745 100 497


